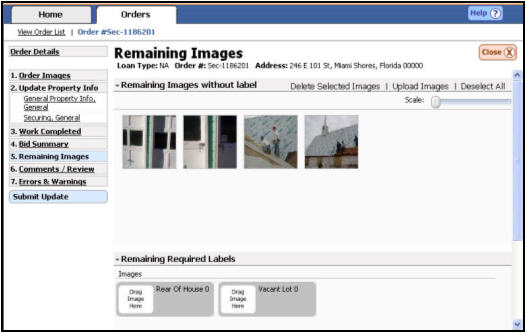
Remaining Media
Remaining Media
During the process of updating your order, you will assign your uploaded media to work completed, bids, damages, condition descriptions, etc. The Remaining Media page will display all media which were not assigned to any category within the work order. You will be given the option to assign or delete the media prior to submitting your update.

Delete Unnecessary Media
Media that are not needed can be deleted from the Remaining Media screen prior to submitting the
update to Safeguard Properties.
Highlight the media to be deleted by clicking the desired item. Multiple items can be selected by holding down the [Ctrl] key while clicking.
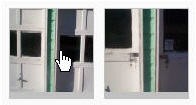
Click the
Delete Selected Media
link at the top of the
page.

Click the OK button to verify you want to delete the
selected media.

Assign Remaining Media
Particular sections within the work order will require that media be supplied.
The Remaining Media Screen will not only display items that have not been assigned
to a category, but it will also display the labels for required media
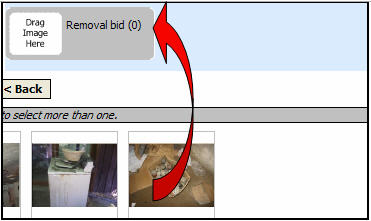
for which no media has been assigned. You can assign any remaining media
to one of the required labels by following the steps below.
Display all labels needing to be assigned by expanding the Remaining Required Labels section of the page.

Click and drag the desired media onto the corresponding
empty media label A grey box within an update where media can be dragged and dropped..
Drop the media to save To quit the update but preserve all of the current information..
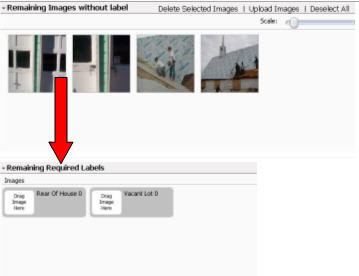
The selected media will appear in the media label.

Repeat steps 2 and 3 for all remaining required labels.
|
|
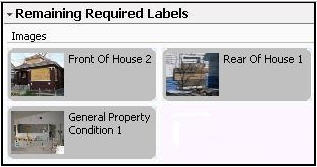
If more than one media item has been assigned to a label, you can view all of the media by hovering your mouse over the label. The window will expand to show all media assigned to that label. |
Incomplete Media with Labels
Occasionally, some media will appear in the section of the Remaining Media screen called “Incomplete Media with Labels.” This is a direct result of an error A mistake on an update that must be corrected prior to being able to transmit the results to Safeguard Properties. that occurred during the upload process. This problem can be remedied by removing the affected media from the label it is attached to, deleting the media completely, and the re-uploading the media.
The following section will walk you through this process.
Ensure you are in the Incomplete “Media with Labels” section of the Remaining Media screen.

Click the header A section break used within the SafeView - Preserve program.
to expand the section and reveal the media which need to be re-uploaded.
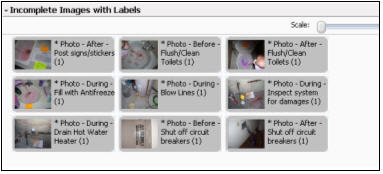
|
|
If this section is empty, you have no media errors and you may skip this section. |
Right-click
on the label of each media item. This will open a window which will display
all media attached to that label.
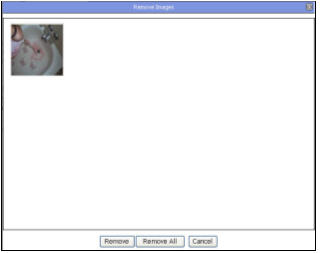
Click
the Remove button to remove the media from the label. You can also choose
Remove All to remove all media attached to that label.

Return
to the Upload Media section of your update by clicking on it in your
Navigation tree
The left hand portion of the updating screen which tracks the contractors
progress through an update.
.
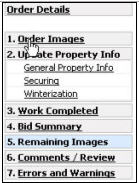
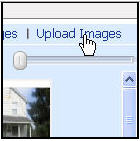
Click
Upload Media and re-upload the affected media.
Drag
and drop the media back into the appropriate media labels.
Related Topics
|
|
TIP: If you have additional questions, click the "Show" link in the upper left corner to view all of the help topics. |